With our upcoming Community Dye Days, starting monthly on April 23rd, we’re taking a look at the different ways you can dye with wild plants right here in the mountains!
Adapted from Foxfire, Summer-Fall 1972. original article by Karen Cox
Before clothing was readily available in vibrant colors at the local boutique or even Walmart, folks in the mountain—and many rural areas—had to depend on local plants to color their handmade cloth. Certain plants contain chemicals that act as dyes when they react to heat and other matter. To dye wool, people would prepare the fibers by setting them with a mordant such as vinegar and salt or alum. This helps “fix” the dye and keep it from fading. Once the wool was prepared, it was then set in hot water baths in which plant matter had already been steeped. The following information, collected from a series of eleven interviews by Foxfire students in the late 1960s and early 1970s, provide some of the local materials used to dye fibers:

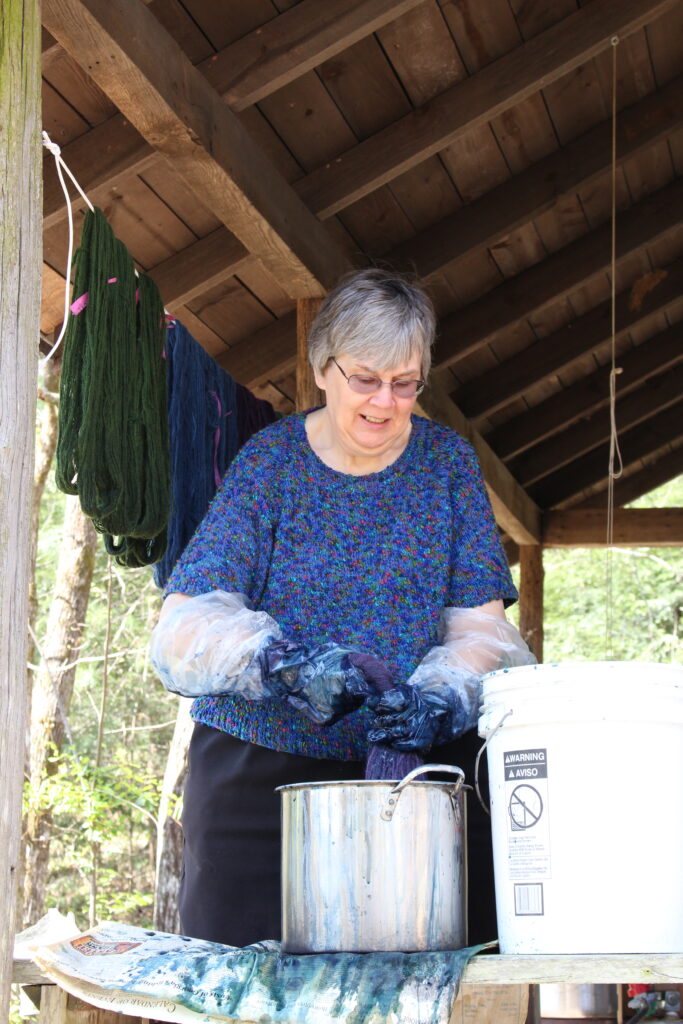
Foxfire weaver Sharon Grist pulls a wool skein overdyed with indigo out of a pot.
Black walnut hulls, root, and bark were commonly used as a natural dye to produce shades of brown and black. Anyone who has picked up a fallen black walnut and used their bare hands to extract the nutshell knows just how potent the dye from the hull can be!

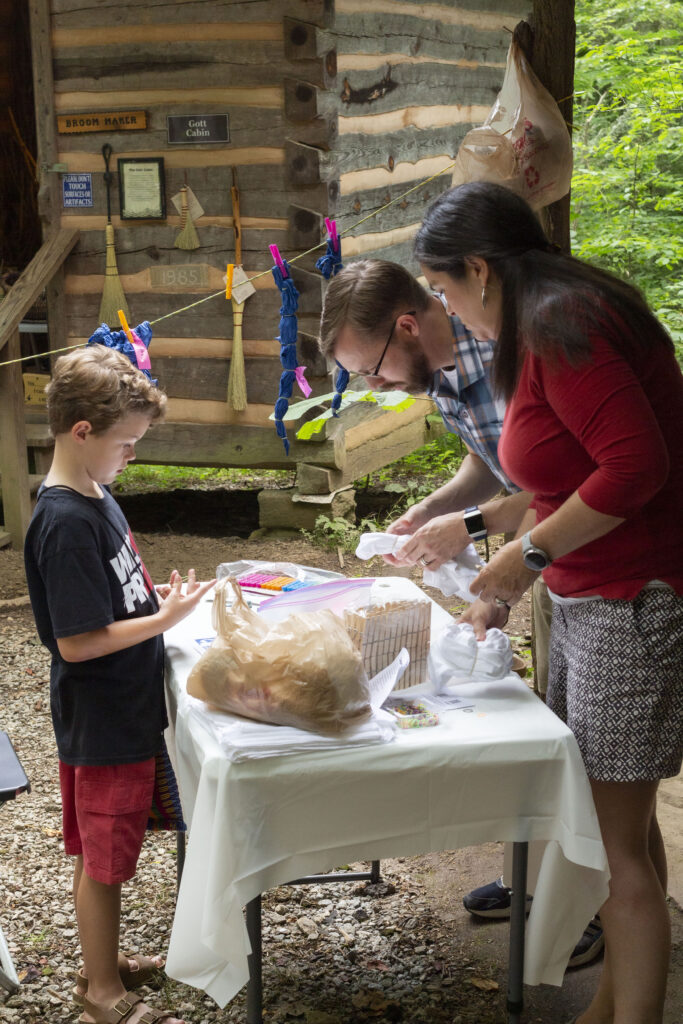
A local family participates in one of last year’s community dye days at Foxfire.
Edith Darnell told students that when the hulls are added to the boiling water, “they’re damp and when they get wet, that makes the prettiest brown. Now they might put the hulls in some kind of a bag in the bottom while it boiled. ‘Cause I know Mommy used to dye quilt linings and all with it. I don’t guess it’d take too long. I guess she’d boil ‘em ‘til the dyes got in ‘em.”

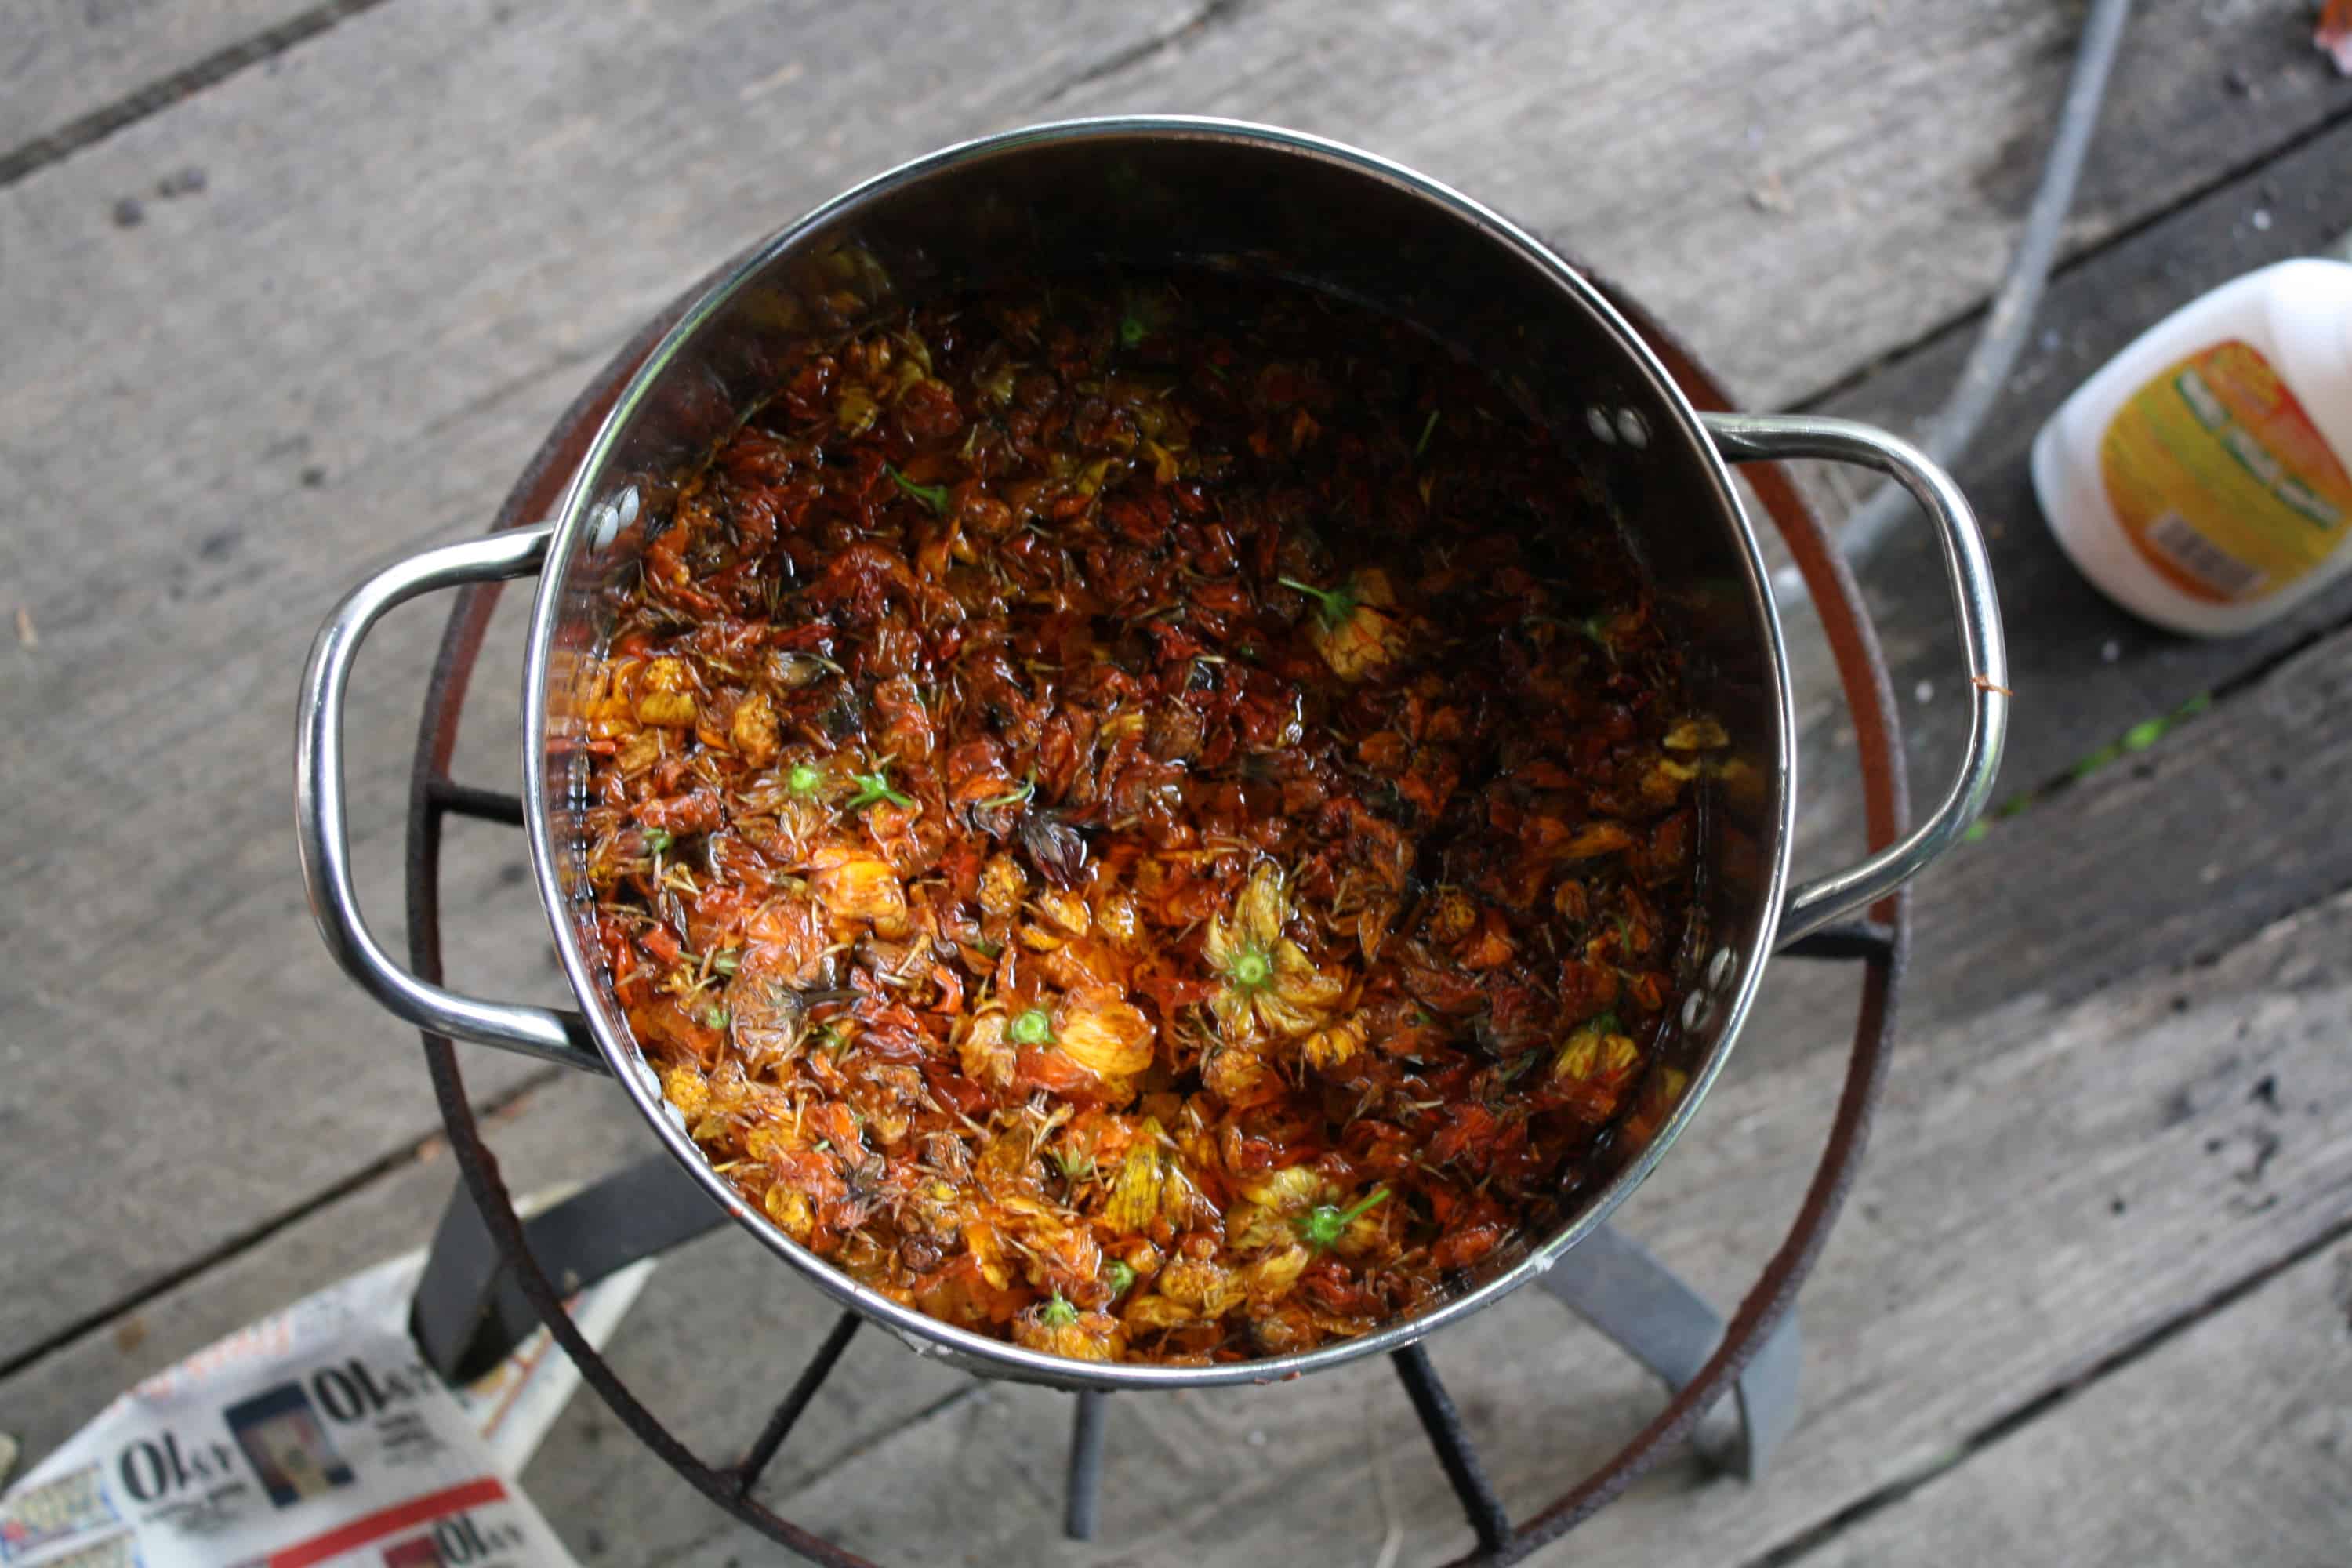
A dye pot steeping with cosmos flowers.
Yellows come from many different materials, from onion skins to moss. Margaret Norton told students about the coreopsis flower, which she often used to make yellow dye, but also about extracting yellow dye from bark: “The outside of black hickory bark was made for yellows. Just go out and beat it off the trees. Boil it up and it makes beautiful yellows. We put the bark in flour bags. They hold quite a bit. There’s now ay of measuring your time. The bark has to be boiled until you get the desired color. People used to do a lot of things by the moon. They thought by getting it on a certain time of the moon, they made more coloring or juice.”
Margaret Norton also shared with Foxfire students how to use indigo to color things blue: “I know that when my grandmother was making her indigo, she had what they called a ‘dye pot.’ They had to let this indigo set so long. I used a kind of lye to make my indigo. They used some kind of a brand and mixed it up and let it ferment several days before they used it. I understood that they had to put it in barrels of water and let it sit so long and ferment. The settling to the bottom of the barrel was what they used for the dye. Now I bought it in the powdered form. I had a chemical to go with a powder. You don’t boil it; you just dip it in the hot dye until you get the indigo.”
What Margaret doesn’t mention is the magic of indigo—while in the dye pot, it is a deep green, but as soon as the dye hits the air, oxygen causes it to turn dark blue.

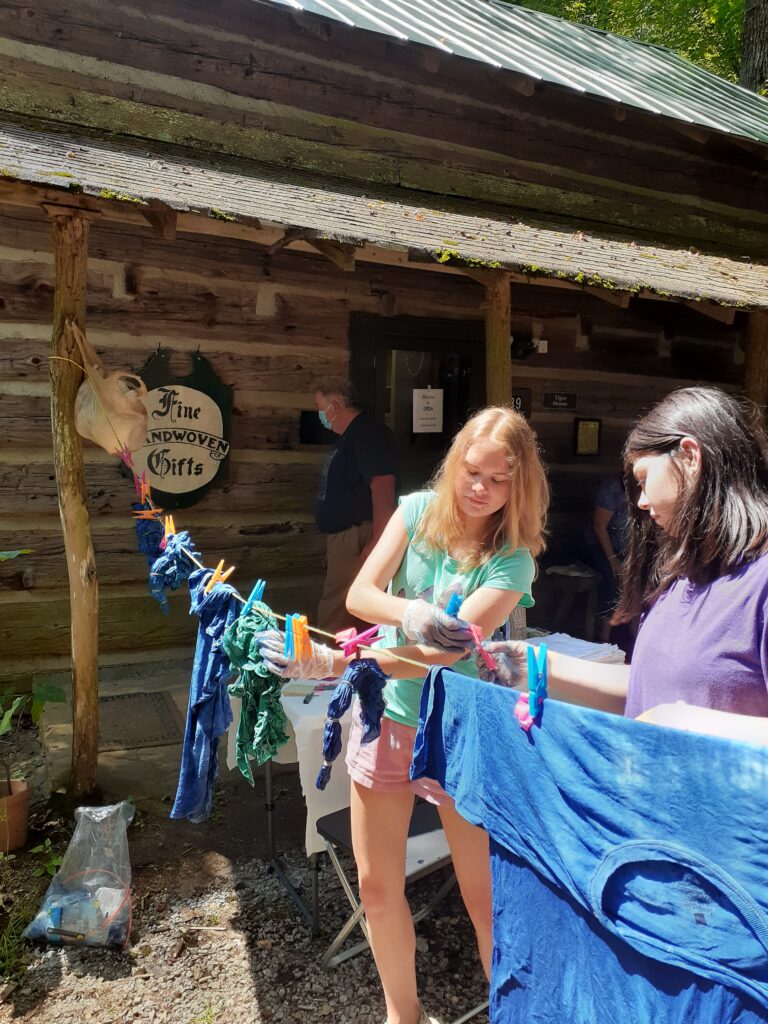
Visitors hang up their dyed items at last year’s community dye day.
Come experience the chemistry and art of dyeing yourself this spring and summer at the Foxfire Museum! On Saturday, April 23rd, May 21st, and June 25th, Foxfire will host Community Dye Days, included with general admission to the museum. Bring a plain white article that is 100% cotton such as a t-shirt, bandana, or tote bag. Drop it off in an indigo pot at the beginning of your self-guided tour. When you are done walking through the museum, you’ll be able to pick up your dyed piece! Make sure to bring a bag to take it home in—it will still be damp!
Looking for more hands-on opportunities to learn mountain crafts? This year, Foxfire will be offering classes in needle felting, wood stove cooking, wood working, flintknapping, and more. Check out our full event calendar at www.foxfire.org/events/