Last year, we released a blog post about how to dye Easter eggs with kitchen staples, like ground turmeric. This year, our Village Weaver, Sharon Grist, took it to a whole new level! She experimented with a variety of kitchen scraps and foods to make beautiful, naturally-dyed eggs. Keep in mind that while she used boiled eggs, it’s best not to eat them as they were in and out of the fridge so much! Use these for decorative purposes only.

Sharon’s naturally-dyed Easter basket
I have had a delightful time over the past couple of weeks experimenting with making Easter egg dyes from natural materials. I familiarized myself with the method explained on the website waxingkara.com
The most important thing that needs to be mentioned is that these eggs are intended for decoration and Easter egg hunts and should not be consumed. The shells may be put in the compost but because the eggs have been in and out of the refrigerator, they must be discarded. Not worth the risk of getting food poisoning!
The basic recipe calls for 1 cup of your food material to 1 cup of water, with 2 tablespoons of white vinegar. I doubled the recipe to ensure there would be enough liquid to completely cover the eggs when they were placed in large yogurt/cottage cheese containers.
The first step is to prepare your food material. I coarsely chopped red cabbage and I grated fresh beets.
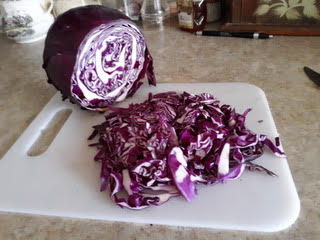
Grated red cabbage.
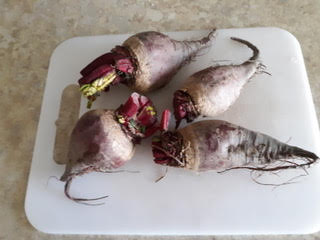
Red beets.
Nothing had to be done to the blueberries that I took from the freezer, nor did the yellow onion skins.
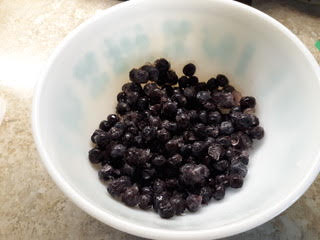
Frozen blueberries.
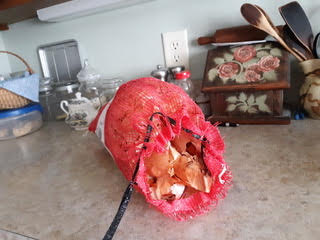
Onion skins.
I simmered each pot for half an hour, then let it cool off. Once cool, I strained the liquid into plastic containers. This is a good time to prepare your containers and make labels for them. Without the labels, some of the food materials would have been very difficult to tell apart. The food material may then go into the compost.
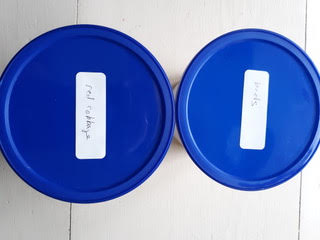
Containers with labels.
I put the hard boiled egg into the dye liquid and set the container in the refrigerator. I left eggs in the dye for differing lengths of time, from 40 minutes, to overnight, to 24 hours. Some dyes produce very deep colors in a shorter amount of time and some take much longer.
One exception to the vinegar rule was for the turmeric dye pot. I already knew how potent the powdered turmeric was from earlier dyeing sessions on fabric. For dyeing the eggs, I used 2 tablespoons of powdered turmeric to 1 cup of water. I simmered it (without vinegar) for half an hour and let it sit. Then I decanted the liquid from the top after most of the turmeric had settled back to the bottom of the pot. I decanted this again from the top into the plastic container. So as not to waste the turmeric, I used it to make golden milk.
After seeing what color each of the dyes produced, I then submerged some of the eggs in a different container to see what “new” color could be achieved. By using a shallow pan, the “new” color would only be on one side of the egg, to make an interesting effect. Over-dyeing in this manner produces some lovely eggs!
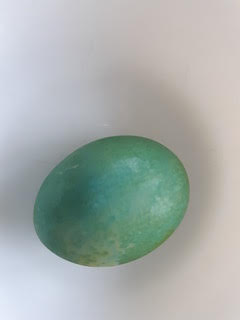
Turmeric overdyed with cabbage
Blueberries produced the most splotchy effect and that texture was retained during the over-dyeing process. Left alone, the blueberry dye faded to a lovely gray after a few days
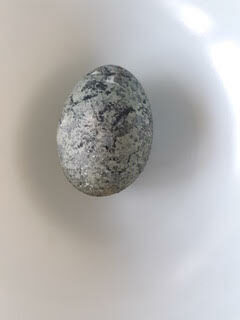
Fresh blueberry dye
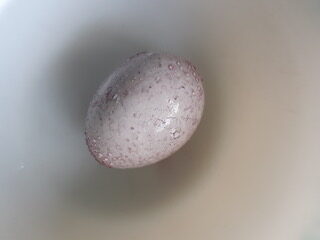
Faded blueberry
While working with turmeric and beets, be sure to keep a wet rag handy to wipe up any spills right away because they will stain your work area!
~Sharon Grist, the Village Weaver
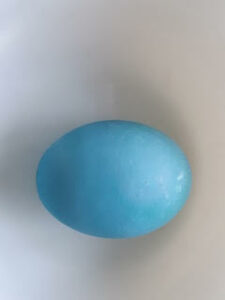
Red cabbage
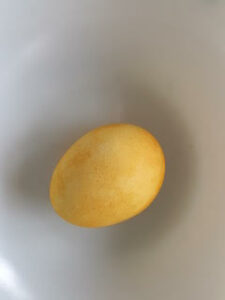
Turmeric
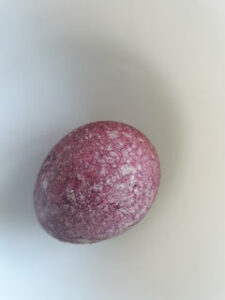
Blueberry and beet
